At Thrive Conference 2023, I delivered a session focused on something I’ve been working with for over 15 years: SharePoint On-Premises.
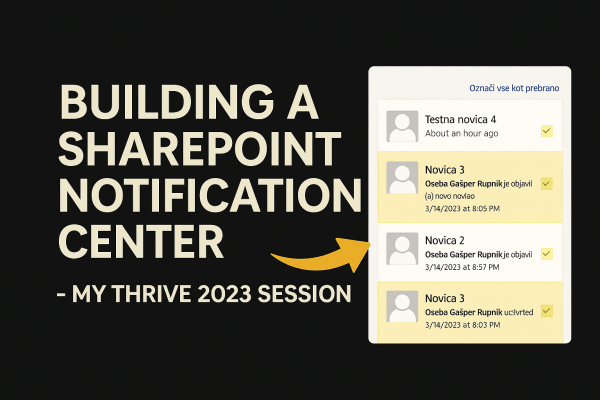
Specifically, I presented how to build a modern, unified Notification Center that brings SharePoint alerts into the modern world—similar to notification models users know from Facebook, LinkedIn, Twitter, Teams, and other platforms.
This solution is not a workaround or enhancement of “Alert Me.”
It is a complete three-step architecture, built specifically for SharePoint On-Prem environments where modern cloud features are not available.
All content in this post comes directly from the session’s slides.
📑 Slides: https://rasper87.blog/wp-content/uploads/2025/11/spnotificationcenter_thrive2023.pdf
Why a Custom Notification Center?
SharePoint’s built-in Alert Me feature is simple, but limited:
- Users must manually turn it on
- Notifications arrive only via email or SMS
- Emails are often ignored
- The look & feel is outdated
- No unified overview of activities across the portal
Modern intranets need something more:
- Centralized
- Non-intrusive
- Always visible
- Configurable
- Secure
- And ideally: looks and behaves like notifications in social networks
This is exactly what the Notification Center provides.
Continue reading “Building a Custom Notification Center for SharePoint On-Prem – My Thrive 2023 Session”